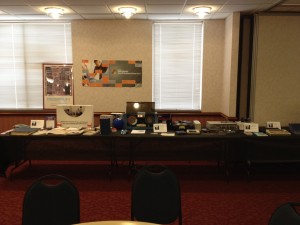
VCF Swap Meet 2021

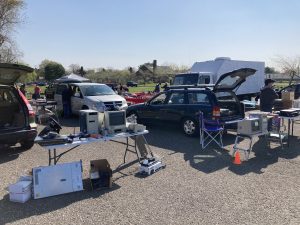
Vendors setting up VCF Swap Meet 2021

After a year of COVID-19 related restrictions, it was great to get out and reconnect with some vintage computer enthusiasts at the Second Annual Vintage Computer Federation swap meet in Wall, NJ. The event was held on April 24, 2021, and thankfully it was a beautiful day to be outside. Several vendors brought items for sale/trade, and it was great just to see many of the interesting items on offer. We were able to bring a few items that were duplicates or otherwise not needed for our collection and help others fill in gaps in their collections. The event was well attended, and everyone felt it was a great success and are looking forward to future events.

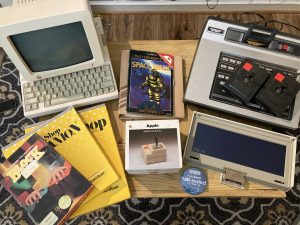
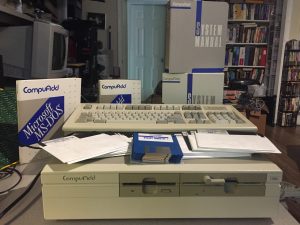
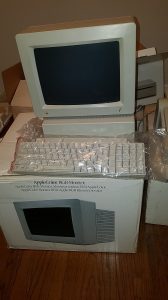
We were also excited to add a few items to our collection while helping out other collectors at the same time. Some items are shown below:

Apple IIc, Magnavox Odyssey2, Joystick, Software pickups from VCF swap meet 2021

After the event, the remainder of the weekend was dedicated to repair workshops where great progress was made restoring our Commodore PET 2001-N. All in all, it was a fantastic weekend!

Posted in Uncategorized

A Series Of Extraordinary Donations!

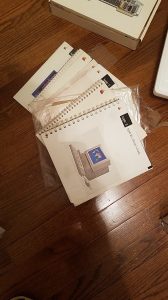
So, 2020 has certainly been a year to remember for so many reasons and with so much going on in the world it would be completely understandable if preserving vintage computers didn’t appear on anyone’s priority list at all. However, that couldn’t be farther from the truth thanks to a number of generous donors over the past several months. We couldn’t be more grateful for these folks who found us and offered many incredible items, some of which have been on our wish list for years. Let’s take a look at some of the items that will be added to our collection thanks to these awesome donors:

Compuadd (feb)

IBM PS/1(feb)

Apple IIGS (may)

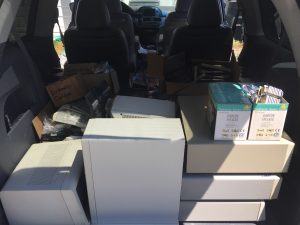
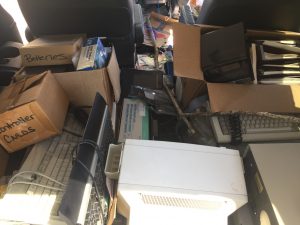
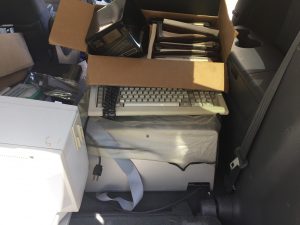
Retro ‘Rona Road Trip (june)

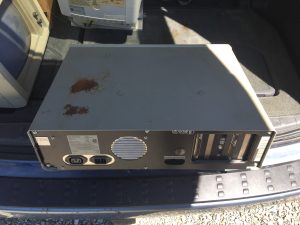
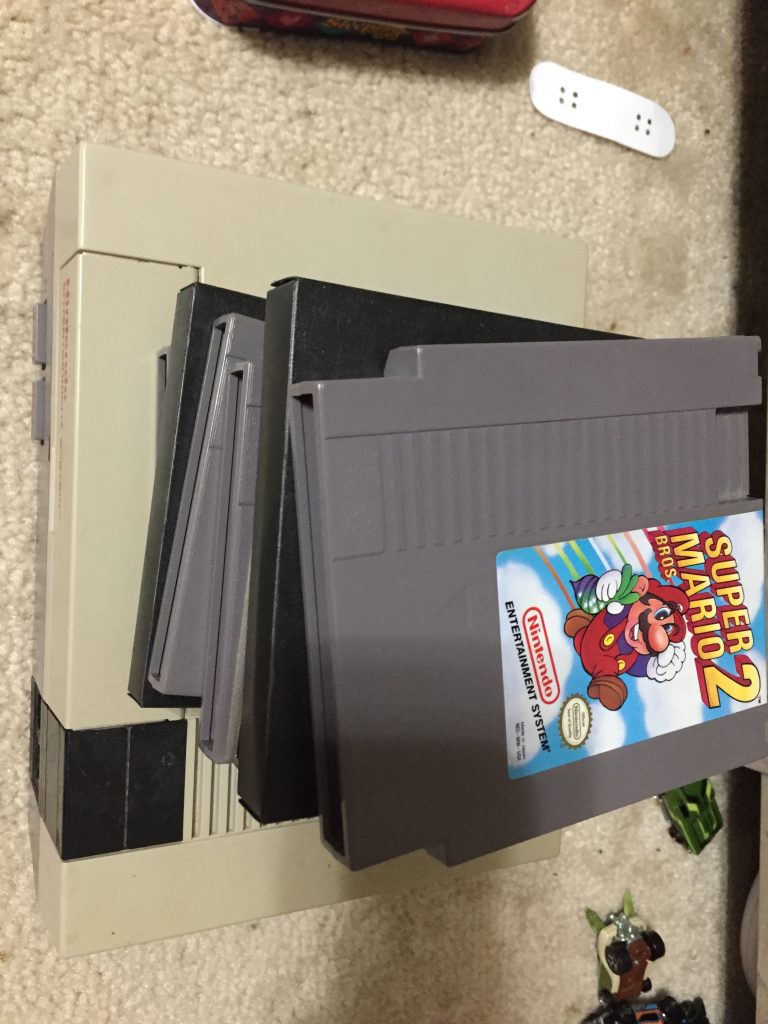
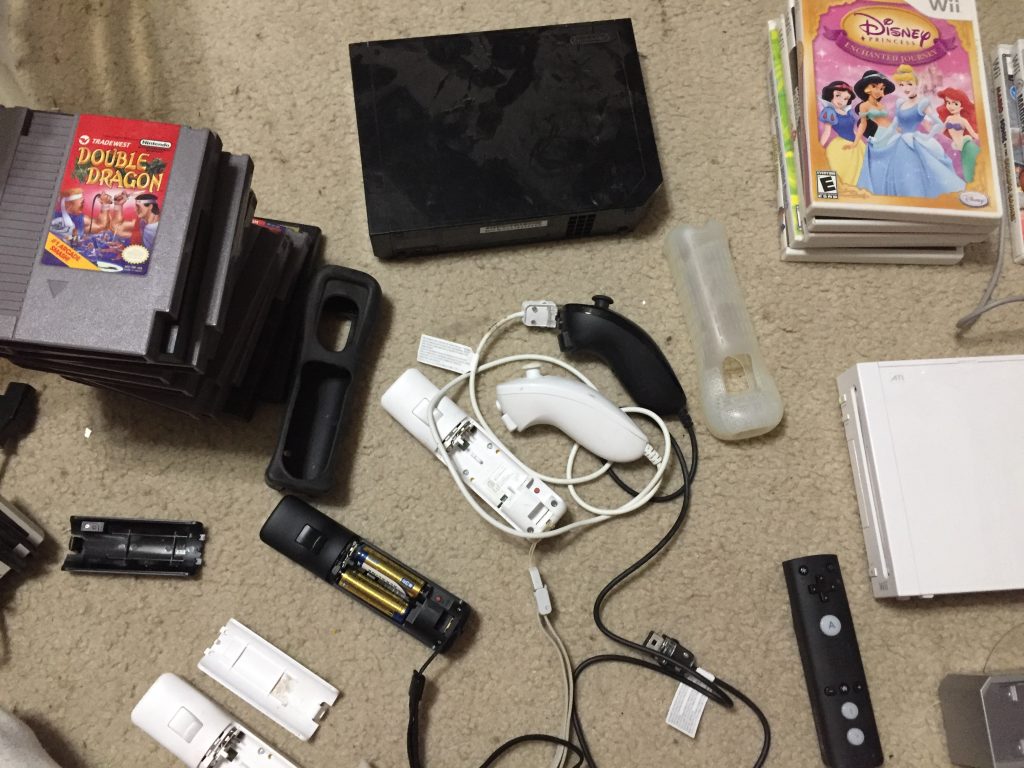
Nintendo haul (july)

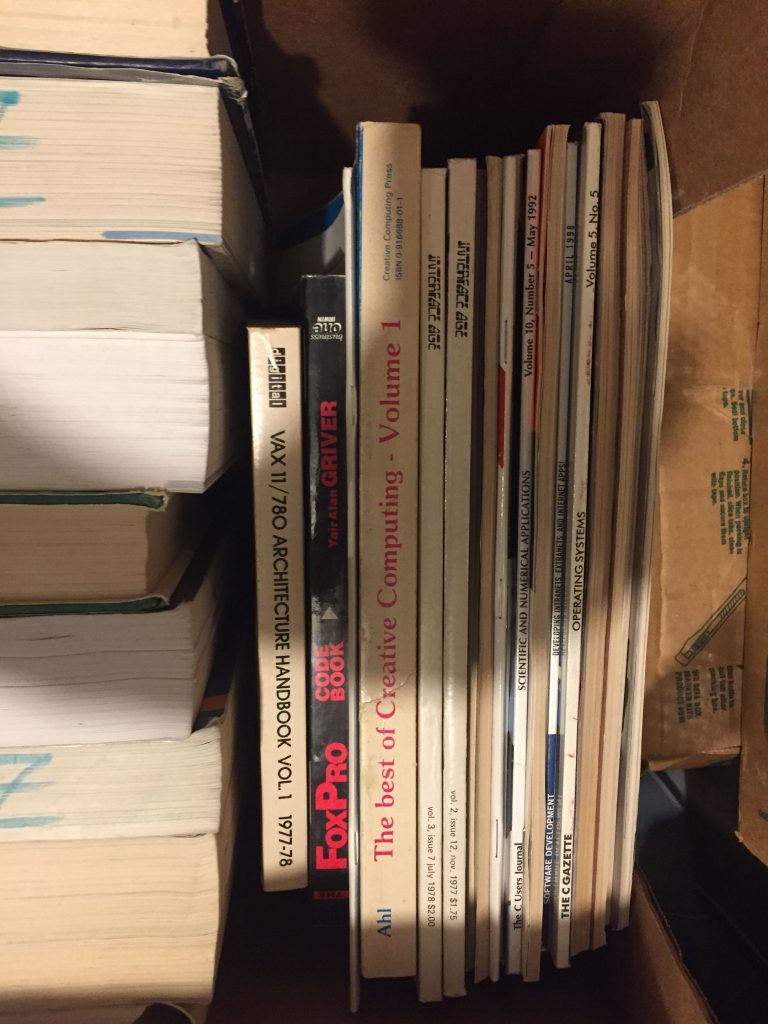
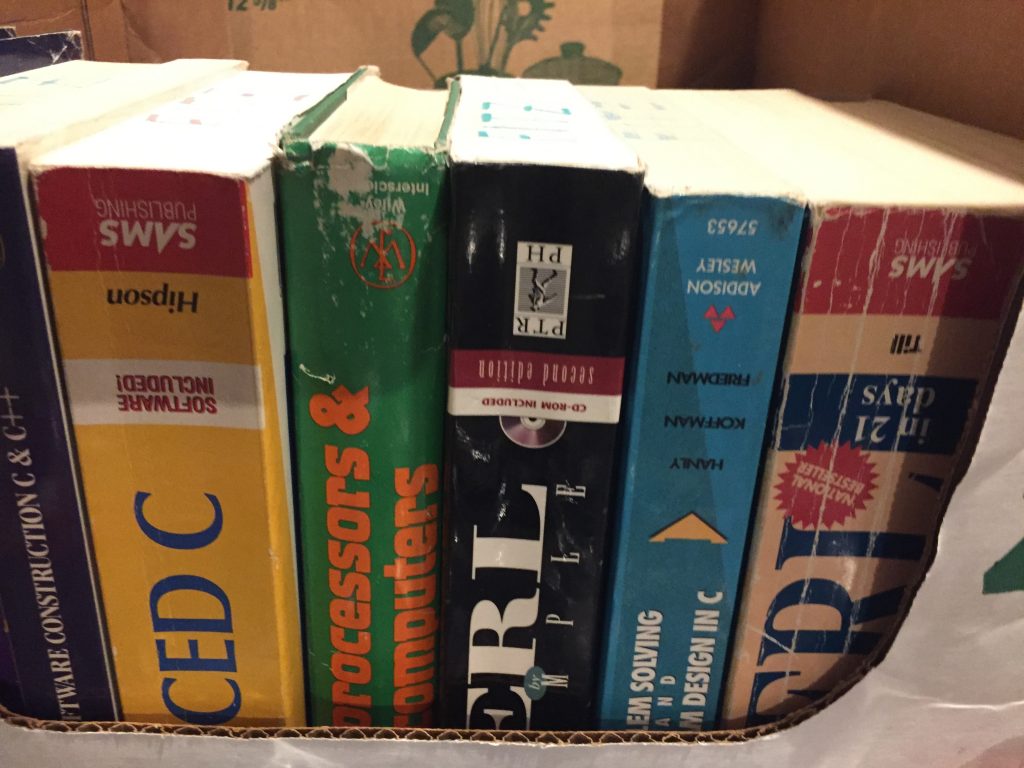
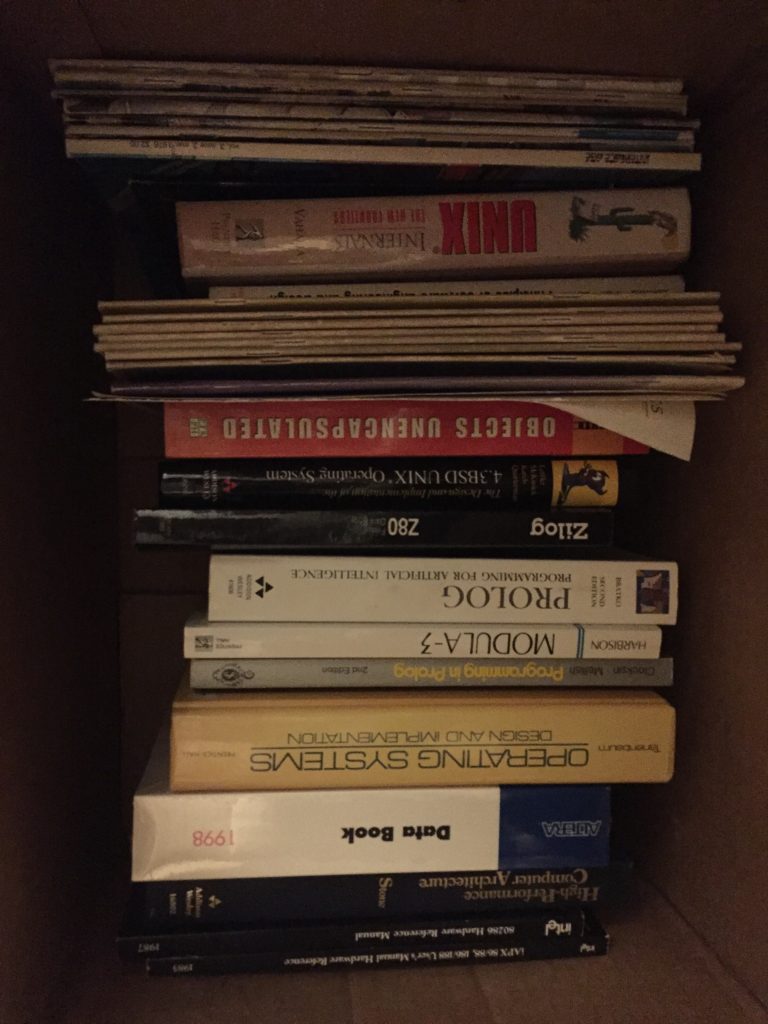
Books, magazines, and more oh my!(august)

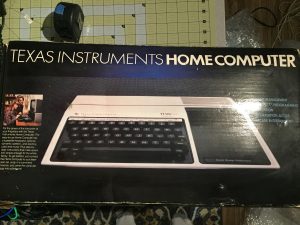
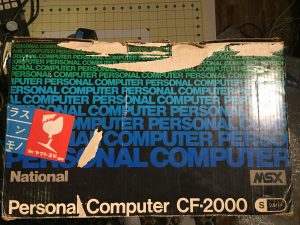
MSX and TI-99 (Sept)

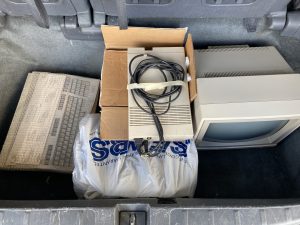
Commodore 128 Collection (Dec)

Posted in Uncategorized

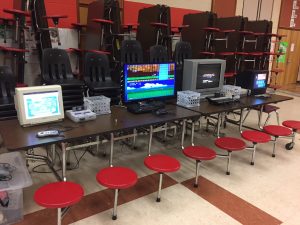
Collection supports local gaming event

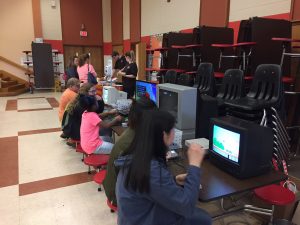
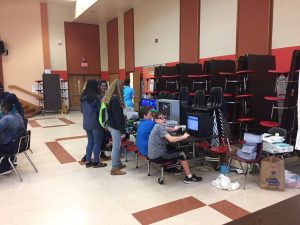
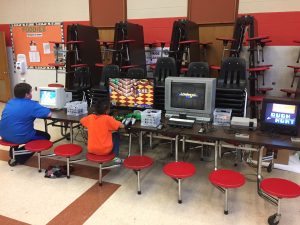
We were happy to provide some classic game consoles and displays to a local gaming event, and they turned out to be a big hit!  The event was organized by the Powhatan Internet Cooperative, a local ISP, as part of their campaign to raise awareness and funding for countywide fiber-optic broadband network that will bring fast reliable broadband to every business and resident. We always enjoy the opportunity to bring parts of our collection out to the public.  Please contact us if you are interested in having us be part of your next event.


Posted in Uncategorized

Atari 800 restoration

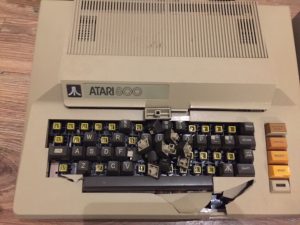
In December 2017, we received a generous donation of artifacts from David Whiteis in Maryland and among the items was an Atari 800.  Several other interesting items from this same lot will be added soon, so please check back often.  This poor 800 had a rough life as evidenced from the numerous warning stickers on the case including “may burn out power supplies”, “burning smell”, and my favorite, “brown liquid…  take apart and clean first”.  It was also missing the top cover.  It could have easily headed for the scrap heap, though, so I am grateful to have been able to rescue it.

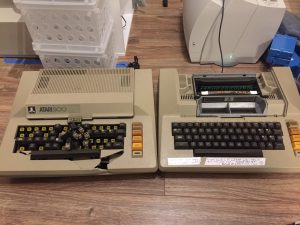
We were able to locate another badly damaged 800 which was also likely headed to a similar fate, but it had the top cover we needed along with a full set of RAM and ROM boards.  You can see them both in the photos below:
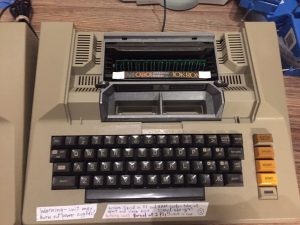
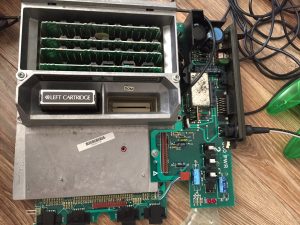
One of my favorite types of projects are like this one, taking two (or more) systems that individually would have been considered a lost cause and combining them into a complete working system in good condition.  While always up for a challenge, I really had no idea whether we had enough good parts between the two for success or not.  Let’s get started with a complete teardown of both and seeing what we have to work with.  I quickly ruled out the damaged case parts and keyboard.  After separating the power and system boards, I tested both power boards by themselves.  The one from the machine with the “burning smell” did indeed smell when powered on, so I ruled that one out as well but the other power board tested out just fine.  Examining the system board from that same machine, I did find an oily tan/brown substance in all of the card slots.  You can see it here on the CPU board if you look close to the card edge socket:
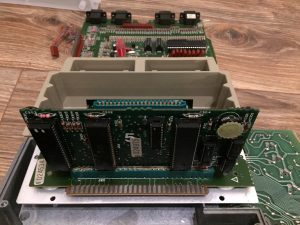
Like the power board, the damaged system also had a system board that looked good so I decided to use that for initial testing.  I also laid out all of the RAM and ROM boards, the boards on the left were from the machine with the brown oily substance, the ones on the right from the damaged machine.  I noticed that the ROM/OS board from the damaged machine had “bad” written on a small label.
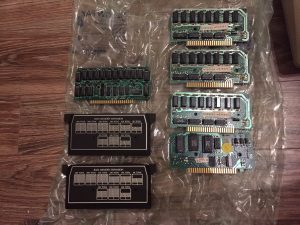
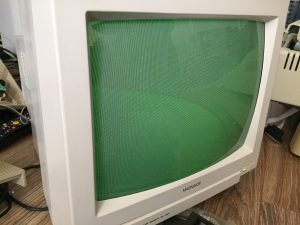
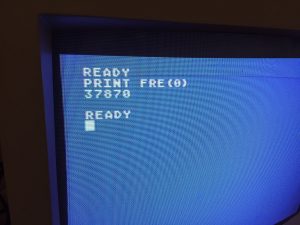
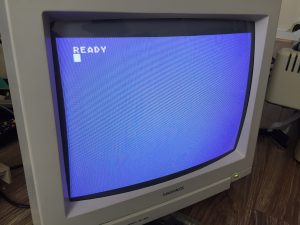
So, I assembled the power, motherboard, OS, and RAM boards from the damaged machine and decided to go ahead and apply power.  Surprisingly, no magic smoke and a green screen appeared on the display!
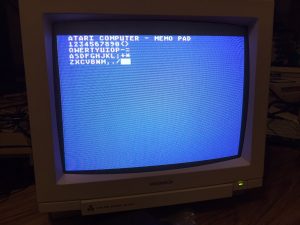
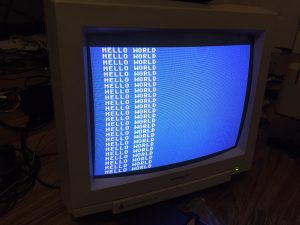
After a bit of research and remembering that the ROM card was labeled as “bad”, I decided to clean up the ROM card from the other machine and remove all traces of that oily residue.  Once clean, I swapped out the ROM card and the machine boots right up!
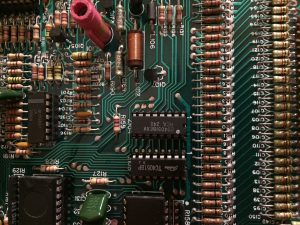
I tried some chip swaps just to see if I could isolate the bad part(s) but quickly decided to leave it alone and move on to further testing and repairs.  The next issue uncovered was that several columns of keys on the keyboard did not work, although other keys worked fine.  Initially I tried cleaning and inspecting solder joints and such, but nothing seemed to change the behavior.  I tested the keys with the multimeter and found that there was indeed continuity when the keys were pressed down.  So, it seemed to be an issue with the decode circuitry rather than the keyboard itself.  The first components after the keyboard connector were 2 encoder/decoder/mux IC’s  (4051)that take the keyboard matrix inputs and feed them to the POKEY custom chip.  Since they were socketed, and the dead keys seemed to have a pattern this seemed like a logical place to focus on.  Initially I tested just re-seating the chips, but the problem persisted.  I swapped one of the 4051’s with one from the other motherboard and it solved the problem.  Another success!
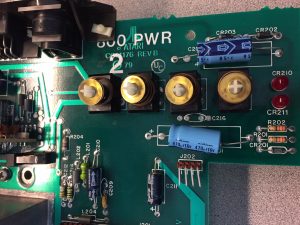
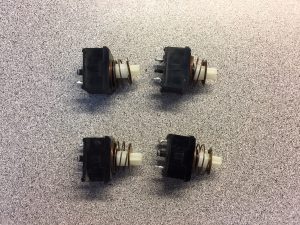
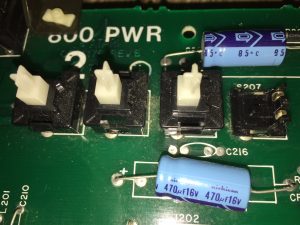
The last thing to deal with was the broken start/select/option/reset switches.  For this, I simply removed the four switches from the “smoking” power board and swapped them for the broken ones.  The first photo shows the good switches after removal, second is the good power board with the broken switches, and the third shows the new switches in place.
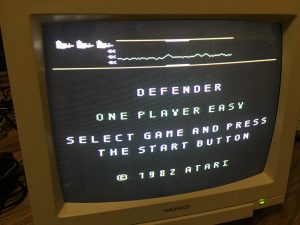
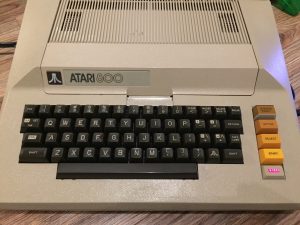
Nothing left now but cleaning, reassembly and final testing.  I’m happy to say this unit is now fully restored and functional.  Not exactly mint condition, but quite nice considering the age and everything it has been through.  We will be happy to add it to our permanent collection!
I hope that you enjoyed this restoration project, feel free to contact us if you have any questions and please come back soon for more.  Thanks!
Posted in Uncategorized

2017 Wrap Up!

Wow!  It’s hard to believe that 2017 is already over.  This has been one of our busiest years ever with several systems being added to the collection through some generous donations, opportunistic purchases, and trades.  We currently have a backlog of machines both in restoration and simply waiting to be showcased and added to the site.  We had hoped to be a part of the Vintage Computer Festival East back in April, but were unable to attend as it has been a personally challenging year with unexpected job change and family/health challenges.  Despite these challenges, there are several exciting additions and breakthroughs that I wanted to take a moment to highlight here:

Some cool game consoles we added this year include the Fairchild Channel F, Super NES, Atari 7800 and out first pong console Atari Super Pong.

Computers added include Amiga 500, NeXTStation, VAX 4000, PDP11/05, Silicon Graphics O2, Tandy Color Computer 2, Apple IIgs, and IBM 5140 Convertible.  Some of these had been on our wish list for many years and we were very lucky to find just the right opportunity to add them to our collection.  Nearly all of the systems added this year are great examples of both historical significance and excellent physical condition.

The year started on a high note, with the completion of our Tandy 6000/Model 12 restoration.  At the end of 2017, we have several ongoing restorations including Commodore PET, Atari 1200xl, and Atari 800.  The Atari 1200xl is very close to completion.  This one has taken a long time with the symptom being black screen after power on.  After much chip swapping, we finally isolated the issue to be a bad POKEY chip.  The only remaining issue is just keyboard related, needing some cleaning and restoration to get some bad keys working again.  This is a common issue with the 1200xl.  The PET is still in unknown condition and the Atari 800 is waiting for some spare parts to assist in troubleshooting and restoration.  We have made improvements to our restoration lab including new test equipment and work space.

Finally, our software libraries have grown across all platforms this year thanks to some local game shops and collectors.

All in all, quite the successful year for VCM!  I am grateful for all of the support over the years, and to many of our new donors and supporters that we have had the chance to meet this year.  I look forward to VCF East 2018 as well.  Thank you for taking time to visit our site and please contact us if there is anything we can do to help advance retro-computing efforts worldwide.

Posted in Uncategorized

September Updates!

The last few weeks have been very busy for VCM!  We recently received a large donation of items, including some nice IBM equipment that we have been wanting for a while.  Many of the machines were beyond repair, but we were able to salvage some CPU’s and other needed parts.  We were also able to restore an IBM 5153 monitor along with a complete IBM PS/2 model 30 with model M keyboard.

Another recent project was the completion of the restoration of our beloved Commodore VIC-20.  Thanks to an ebay seller who had the side panel we needed, the VIC has now been restored to original condition and thoroughly cleaned inside and out.

We also began our CPU collection this month after going through lots of scrap motherboards and systems.  While it does not quite fit with our desire for everything to be in working order, I felt that it was both appropriate and interesting to preserve examples of CPU and coprocessors.  If for no other reason, the variety of pin configurations and size comparisons can be fascinating.

Lastly, we now have a complete working Wyse-60 green screen terminal.  This one has been on my list for a while as it is what I spent most of my college years typing on.  So, this one was a bit of a personal nostalgia on my part, but as a common alternative to popular IBM and DEC terminals, it does hold it’s own in the history of serial terminals.

Please explore our hardware collections for these and other updates, and as always thank you for your support!

Posted in Uncategorized

Commodore 1541 Disk Drive Rebuild

I recently pulled two classic Commodore 1541 disk drives from storage to check their condition and serviceability.  Both drives had sustained physical damage falling from a storage shelf several years ago.  Even before that, their condition was unknown.  Upon closer inspection, I found that the drives had both impacted the floor face-down, meaning that there were some cracks and bent metal parts internally on each of the drive mechanisms.  There were also some cracks in the plastic enclosures.  I decided that the best approach was to consider taking the best parts from both to build one working unit.

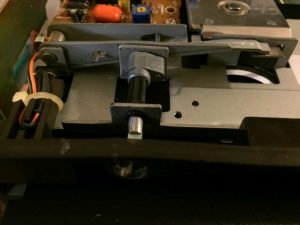
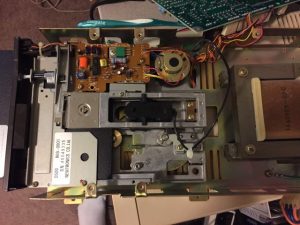
The first step was to disassemble both units and select the mechanism and outside shell halves with the least damage.  Luckily, one of each of the top and bottom shells were undamaged so we have a complete enclosure with no cracks.  I chose the better of the two mechanisms, swapped some mechanical parts and straightened some minor bends to get a mechanism that opens and closes smoothly.  The photo below shows a close up of the damaged area, unfortunately both bezels were cracked, so I chose the best of the two.

Photo-2016-08-10-23-31-30_7109

Once the head was cleaned, the mechanism was mounted and I moved on to the electronics.  Both drives had already been tested for working power supplies, so there were no worries there.  As for the controller board, not knowing anything about the condition, and given that there were no obvious physical defects, I chose to start with the newest of the two.  One board appeared to be an older revision, so I opted for the newer one.  After connecting the controller, it was time for the initial testing.  Surprisingly, the drive powered on and appeared to pass the self test so I pulled out the trusty VIC-20 and connected it up.  Unfortunately, powering on the computer did not trigger the typical reset on the drive.  However, I went ahead and tried to load a directory but was soon greeted with a flashing red light.

Figuring that the lack of reset involved communications circuits between the computer and drive, I tested with a known good 1571 as well as with a known good C-128 since it has been a long time since we had the VIC-20 connected to any disk drives, but all that did was prove that the 1541 was the source of the communications problem.  Before pulling chips, I tried swapping the entire controller board, but that did not lead to a working drive.  So, on we go to swapping chips, starting with the 6522 VIA closest to the serial ports.  After several back and fourth swaps I was able to isolate one bad 6522 between the two boards.  Although the reset routines were now working properly, the drive would still not read a directory, leading to some head chattering and eventually erroring out.  It also appeared that the newer controller board may have some other issues as well, so I stuck with the older controller with known good 6522’s which provided a consistent experience other than the read errors.

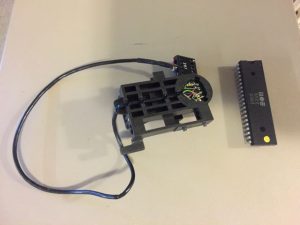
After reading some other posts, since this is the Newtronics mechanism, the likelihood of a bad head seemed pretty high.  Since it was easy to do the basic ohmmeter test, I went ahead and did that and was surprised to find that pin one on the head was showing open.  So, back to the other mechanism that had already been scavenged, I tested that head with the ohmmeter and found that it tested just fine.  So, after some more surgery to extract the working head, followed by thorough cleaning, it was swapped out.

Here is the complete mechanism with the transplanted head:

Photo-2016-08-10-23-29-40_7108

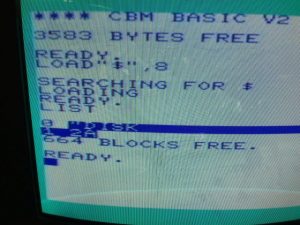
So, let’s test again…

Photo-2016-08-10-23-37-18_7110

Success!!

So, the head was indeed bad.  Now for some more complete testing, I went ahead with a full format, as well as to test this newly formatted disk on another known good drive to make sure there was no major alignment issues.  After several back and forth rounds I was happy with the performance, enough to go ahead and put everything back together.

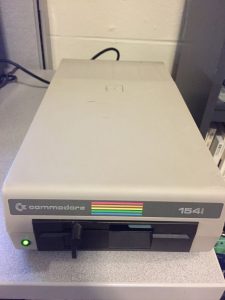
Finished drive:

Photo-2016-08-11-00-01-40_7111

So, 2 damaged 1541’s become one working unit, proving again just how rugged these units were.  Beyond the physical damage to the plastic and mechanisms, one of the heads was bad, and one 6522 was bad:

Photo-2016-08-11-00-03-15_7112

Posted in Uncategorized

Initial documentation of hardware collections now complete!

After many years of work, we have completed the initial catalog of all hardware systems currently in our collections.  Each system has at least one photo and basic description information included.  Working systems have photos showing screenshots or other documentation of their condition.  We will continue to improve each page as systems are restored, displayed, tested, or otherwise worked on.  We will also continue to add software titles and publications to the collection as time permits.  Any new systems that are acquired in the future will be added promptly.  Thank you for visiting our site, we hope that you enjoy seeing these iconic systems in action!

Posted in Uncategorized

Tandy 6000 restoration underway!

Restoration of Tandy 6000 Xenix system circa 1984 is now underway.  Follow our progress on the Tandy 6000 page.  If you have expertise and/or parts available that you would like to contribute, please contact us.  Thanks!

Posted in Uncategorized

VCM Collections used for local vintage computer event

We were pleased to have the opportunity to provide some elements from our collections to a local organization to be used for an in-house event.  This was the first time we have been able to get our collections out in front of the public for some hands-on viewing.  The event was a great success, and we look forward to future opportunities to provide our collections for public viewing.  Some photos are below:

photo 1

Setting up

photo 2

Game console area

photo 3

Artifacts on display


Posted in Uncategorized